Erin Condren Life Planner – May
*Disclaimer – I purchased all these stickers myself, and I was not paid to give my honest review of these products.*
Another month, another chance to decorate! I’m still not happy with my planner skills, but I’m practicing and learning. I think it’s mostly because I’m just not that happy with the layout of my ELCP as I initially thought I would be. My handwriting is big and unless you’re ambidextrous it’s really difficult to fill out a spiral-bound book. I also just can’t find a STINKING PEN that doesn’t smudge and works on matte and slick paper! I end up using white-out (ew). I’ll definitely be looking for some better pens this month – its a goal for sure! Hopefully I can do a review post on them. Do you have a favorite? Comment and let me know!!
Despite my setbacks, I DID find a really great sticker shop on etsy! The SweetPaper Co had a super cute May set that I tried and I liked it. The stickers match well to the ELCP month’s colors, and they are matte so they are easy to write on (if you have the right pen). Next month I’m going to try and not have everything so matchy-matchy. It’s not bad, I guess it’s just not my style! Here’s my layout:

ECLP weekly spread
The hubby said I couldn’t buy any more “sticker stuff” until I used what I had on hand. (To which I rolled my eyes and sighed a “whatevs” under my breath.)
Here’s the week I came up with!
First half:

Second half:

Sometimes hodge-podge isn’t so bad right?
Erin Condren Life Planner – April
*Disclaimer* – I purchased these stickers myself, and the opinions expressed here are my own.
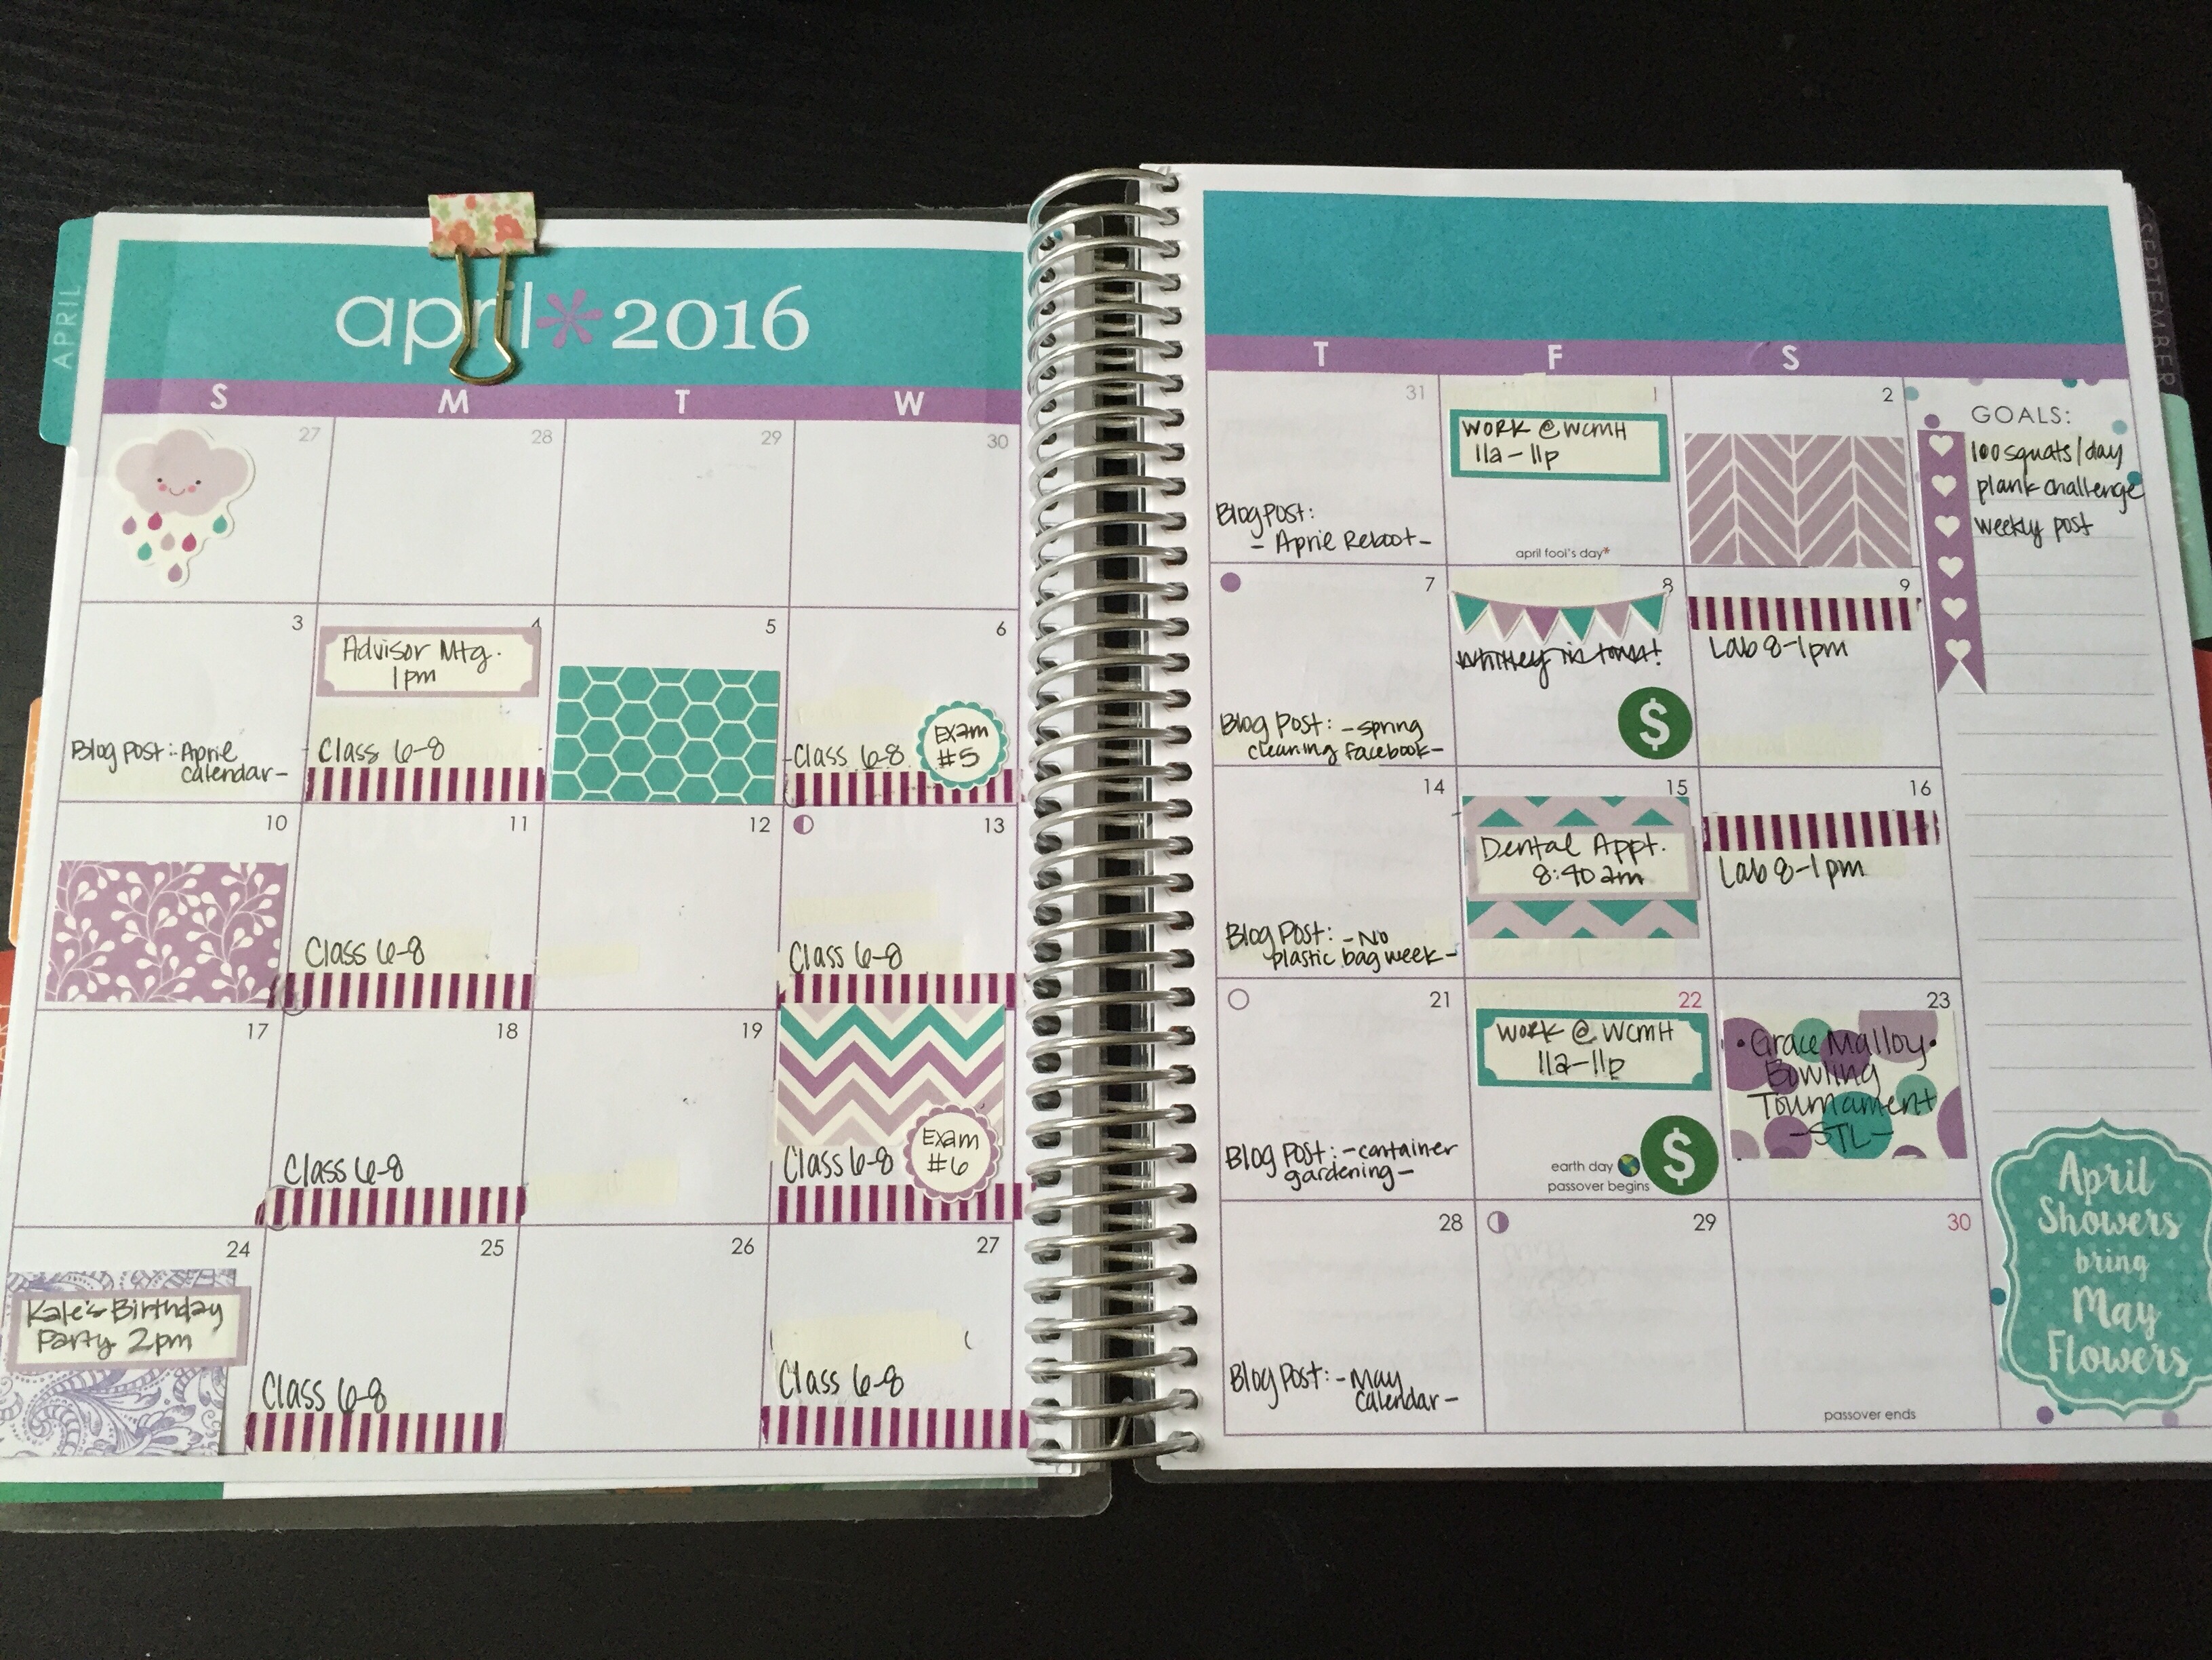
April showers bring may flowers right? That’s the theme of this month’s layout. I know it’s a bit cliche’, but since I’m still an amateur glam-planner I think it’s okay :). This month’s layout is pretty simplistic – mostly because I just didn’t have the time to decorate how I wanted to. However, I was fortunate enough to get some fun stickers from Etsy during March and I decided to pull the trigger on a full month sticker pack. There are SO many cute sticker shops out there now, it was really hard to decide! I picked PlannerStickerJubilo because they have the Erin Condren Life Planner monthly theme colors in easy to purchase packets.
What I liked: The design and colors matched perfectly to April’s colors! There were so many stickers, I have a LOT left over that I can use for the coming months. I feel that the pricing is competitive to other etsy stores.
What I dislike: It’s probably just because I haven’t found the right pen yet, but when I wrote on some of the planner boxes they smudged easily. What pens to you use? I tried a sharpie and a felt-tip, and both smudged.
Currently working on a weekly layout – still trying to figure out what works best for me!
See my other layouts here: January, February, March
Hope you’re having a fantastic Thursday!
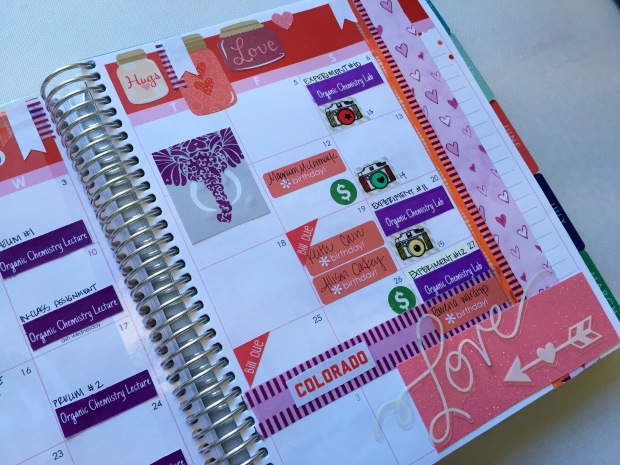
February Layout – Erin Condren Life Planner Decorating
A few days late … But here it is! I didn’t have as much time to think of a good layout, but I still like how it turned out. I’ve been doing more research on planner decorating and I guess I’m into what they call “glam planning”. Unfortunately, I’m finding out that glam planning and all the things I want to track aren’t mixing very well – I don’t have enough room! Thinking about making some inserts for myself for more space. I don’t have the money to spend on another planner yet but I’m totally loving the new Filofax look and kiki k’s! I also am looking into disc planners – I’ve seen them at craft stores but didn’t know how they would work for me. I’m on the hunt for now, but I still think maybe I could design a planner that fits me perfectly. Maybe someday!


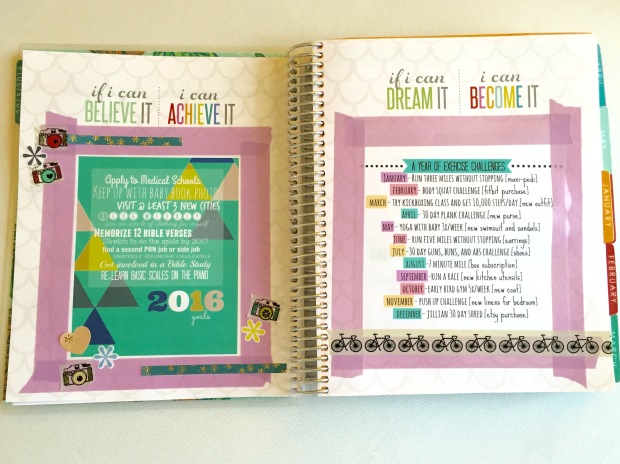
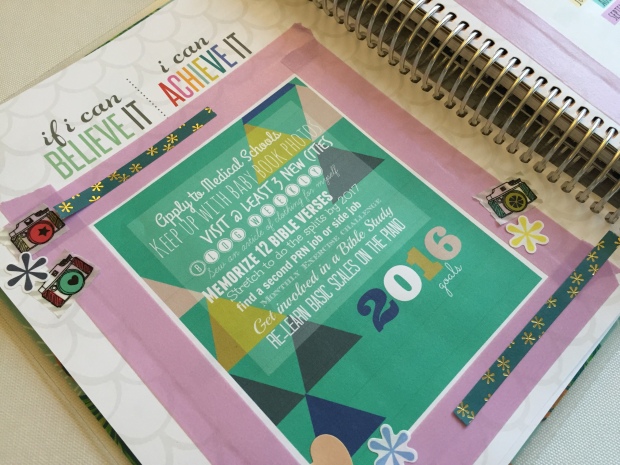
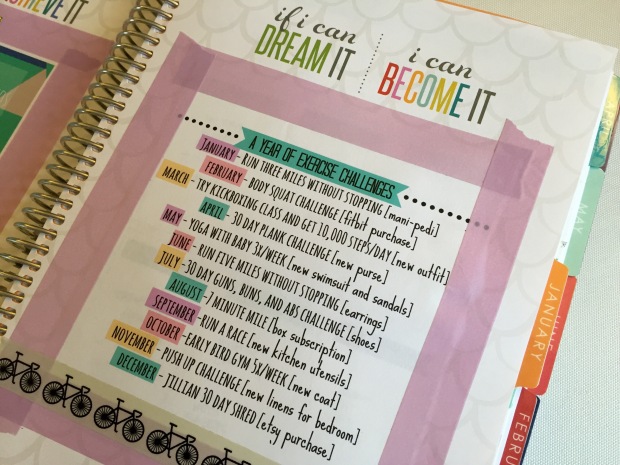
Erin Condren Life Planner Decorating – Goal Pages
I really like that this planner already has yearly goal organization sheets included. This is something you usually don’t find in the cheapo planners I used to buy. Not only is it cute and colorful, it’s placed in the front of the planner for easy access!
The pages had places for a goal per month, with six months on each side. I decided that since I had already made a yearly goal page and a monthly exercise challenge page, I would just insert those there. Add a little washi tape and you’re good to go! It was a nice and quick way for me to get a little crafty today between baby feedings and diaper changes. (Still SO MANY diapers…)
Here’s the final product:
One Project @ A Time!
I’ve always been a little over-ambitious when it comes to thinking I can multi-task several crafting projects [and pretty much everything I do]…there’s always just so much stuff I want to do and not enough time! I’ve come to realize that I’m quite the dreamer, and I like to think things through and mull over ideas – but I’m terrible at finishing those that I start. For instance, I’m currently thinking about a DIY infinity scarf I want to make, a floor plan for the restaurant I want to own some day, the Blurb book I need to update, the wall art I need to finish, and the frames I need to get for the photos that I need to print off. I could go on and on. Sometimes I get so overwhelmed with what I want/need to do, that I never actually get anything done! I want to do better about that.
So today, I made a list (shocker). With all my projects onto one sheet, I can prioritize! I thought I would share with you the project I’m currently working on and will finish first.
I’ve really been into planner decorating lately, and I think I can call myself an amateur planner addict by now. I love all the stickers and attachments, and the process of creating a layout. There’s so much cute stuff out there, but it can get expensive if you let it! In order to keep costs down, I researched some on how to make my own planner stickers and inserts. It’s relatively easy if you have the equipment!
I like my Erin Condren Life Planner so far, and I wanted to learn how to make my own planner squares for the vertical layout planner I purchased. Wenda, from Wendaful.com has some great tutorials on how to do so! She also has a ton of info on planners, printables, and DIY stickers that I’m excited to delve into too. I used her tutorial and created these planner squares pretty quickly. The only problem I ran into is that I don’t have any type of document writer on my computer since I reformatted it a while back (poor ol’ gal, she’s hung in there for 6 years). I just ended up using a google docs form, and it worked fine. All I had to do was adjust each picture to the right size.
Here they are:

I found most of the graphics online, and some of them I made myself with the phone app Phonto and the editing site PicMonkey. I was mostly just messing around with this printout, but I’m hoping to make some personalized ones in the future (yep, on the list – I’ll update when I’m done). I’m planning on buying some sticker paper to make storing and using the printables easier, but for now I’m just going to cut them by hand and glue them in.
Feel free to print these off and use them too! Download the PDF here: Printables. (I included the template I used also). I’d love to see any that you create – send them my way!


")


